This tutorial will show you how to customize a template using Quick Edits. Follow all steps, and you will have a fully branded Interactive Experience by the end of the article.
This tutorial will guide you step by step to customize one of our gamification templates, the Spin and Win game.
Note: Most templates have similar steps, but some might have fewer or more customization steps. However, some of the steps exist in all experiences. For instance, you will always find the introduction, general settings, and start page.
Step 1: Introduction
Every template has an introduction to the experience’s logic and workflow. Here, you can get familiar with how the template works.
Watch the video to see what the experience will look like on your website.
Step 2: General settings
In this step, you can change the basics of the template. Here, you start converting the elements into your branded experience.
Firstly, change the landing page decoration. Ideally, follow the recommended size of 1440 X 1421px.
Secondly, change the color scheme. Use your brand color palette to elude your brand.
Thirdly, change the text styles by editing the font, color, and anything else you want to look differently. Make sure to save and close the text styles tab.
Step 3: Lead form
Edit the lead form by modifying the title, form fields, and submit button. Here, you can also add an external link to your terms and conditions for participation.
In addition to the name and email address fields, you can add extra fields like a dropdown menu, checkbox, country answer, number answer, and more. Customize your lead form according to the information you want to obtain.
Note: Click on the Preview button to preview the progress of your project.
Step 4: Game design
In this step, you can customize the game itself.
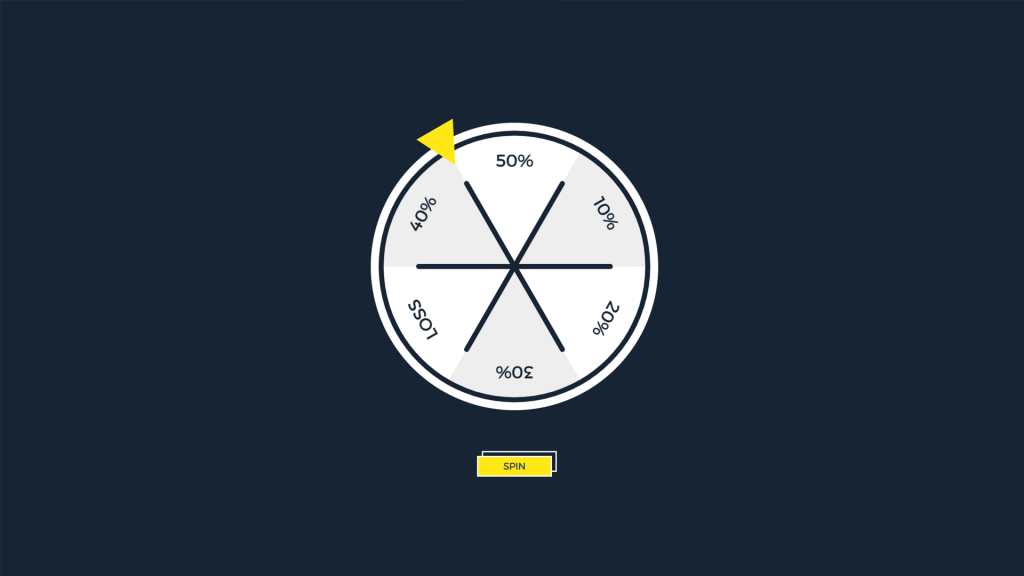
First, start by customizing the page that loads before spinning the wheel. You can customize the decorative element, title, and play button.
Then, modify the design of the wheel by right-clicking and choosing “settings.” Here, you can customize the wheel design, arrow design, prize text, and spin configurations.
Note: Click on the Preview button to preview the progress of your project. Does it look more like your own branded experience already?
Step 5: Game messages
Now, it is time to communicate with users. Customize the way you tell them whether they won or lost the game. Replace, for example, “You are lucky today!” and “Too bad… you are just unlucky!” with the text that your brand would use.
Step 6: Prize draw management
This final step defines the probability of losing the game or winning certain prizes.
As there are five prizes, you can set a probability of 10% each. Then, the likelihood of losing will be 50%.
Furthermore, you can limit the number of prizes a winner can win, as well as the number of times a person can play.
Set up the draw recording to your company’s objectives and campaign budget.
Now, click the Preview button again and make sure the game looks like you want it to! Make the necessary changes, and here you go; you have your branded Spin and Win game!