The Report Addon will enable you to collect assorted data from your Interactive Experience and store it in a unified way. This also enables you to export the collected data in a CSV form anytime.
The data collected by the Report Addon is not tied to any visitor, contact, etc. You can use it to collect any type of data generated by your Interactive Experience. The following shows a few examples of when you might want to use the Report Addon:
- Collect all data filled in a Lead Form: Dot.vu’s Lead Forms group data by visitor. This means that if a visitor submits the lead form twice you only get the last submission. With the Report Addon, however, you are able to store and view each submission of the Lead Form.
- Collect anonymous feedback: As in the previous example, you might want to use a Lead Form to collect feedback data from your customers. The feedback form should not be tied to any customer, hence using the Report Addon to collect this data is the correct approach.
- Collect orders: If you are creating an Interactive Experience where your customers will be able to select and order products/services, you can use the Report Addon to store each time a customer makes an order. The order can contain information, such as customer name and email, selected product/service, address, comments, etc.
- Collect special events from your Interactive Experience: Let’s say you have an Interactive Experience where your customers participate in a Quiz. You might want to track when a specific question was correctly answered. With the Quiz App, you are already able to get this information. But with the Report Addon, you could also collect other data related to that question such as the response time, the number of correct answers so far, how fast they did the Quiz, etc.
How to Setup
- Open the Building Blocks on the left sidebar of the Editor
- Search for “Report”
- Drag the Report Addon onto your project to enable it
- Create a new Report Addon and give it a name, e.g. My Report
- Follow the settings below and configure the addon
How To Configure
The Report Addon workflow is comprised of 3 steps: Add fields to collect, use the action to store those fields, and export the collected data.
Add Fields
To use the Report Addon you must configure what fields you want to store. These fields will then be available in the Add Entry action.
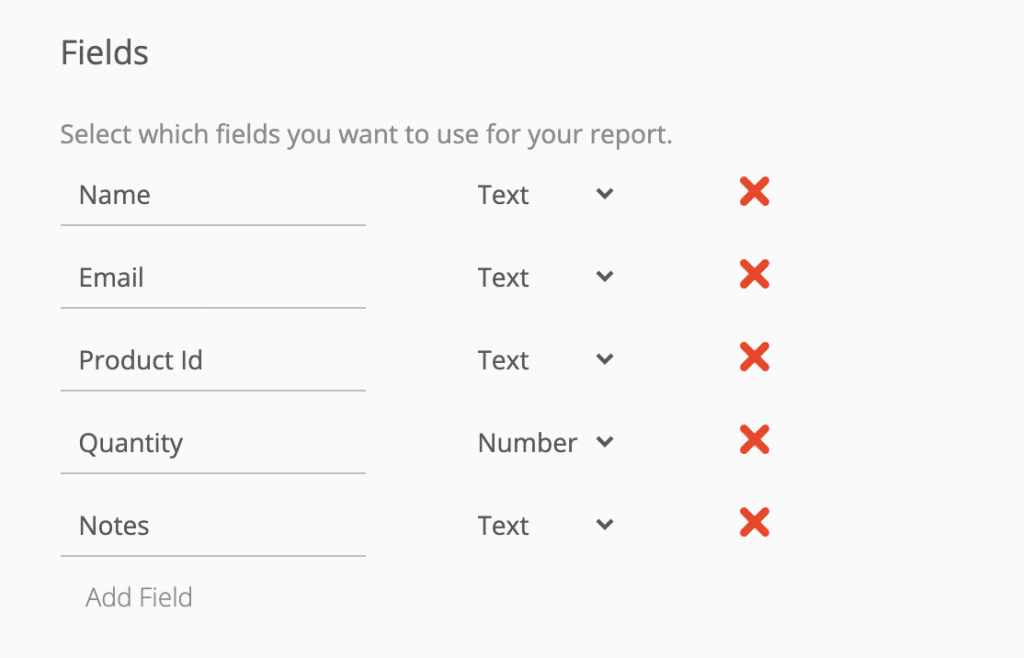
If, for example, you want to collect order information, you would create the following fields: Customer name, customer email, product ID, quantity, notes.
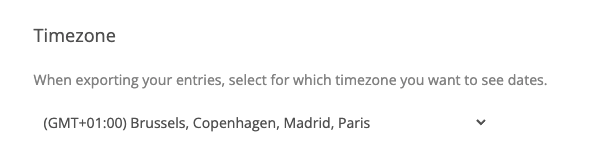
Timezone
When exporting the collected data, each data entry in the Report Addon will automatically include the date on which the entry was added. Therefore, you are able to select for which timezone you want to see the insertion dates.
Unbind From Page
All Addons on Dot.vu are, by default, bound to a single page only. This means that the addon will be enabled and configured on the page you have added it to only.
If you want to use the Report Addon you have created on other pages you need to use the function “unbind from page“. This function will make it available across other Dot.vu pages. Whenever you want to use an unbound addon from another you can simply select it from the global addons list.
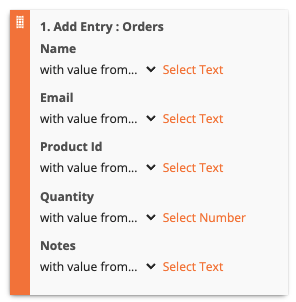
Add Entries
After configuring your Report Addon, you are ready to start using it to collect data. Imagine the Report Addon’s data as a column. Each Field is a column and each entry is a line.
To add an entry you should use the Add Entry action. When using this action you will be able to select from either a manual or a data field value to each of the fields you have configured.
Export Collected Data
After you have collected data from your Interactive Experience you can proceed to export it anytime you want. To export data, go to the Report Addon configuration and click the “Export Data” Button, in the top bar.
After the export is ready you will receive an email with a CSV file attached, containing all the collected data.
Reset Addon
When testing your Interactive Experience you might generate test data. Before launching your campaign it is good practice to reset your data so that you won’t be mixing test data with production data. The Report Addon enables you to delete all entries. To delete all entries go to the configuration settings of the Report Addon and click the “Reset” button, in the top bar.
Actions
Once your Addon is enabled and configured, you get access to the following action with which you can interact with the Addon:
Use this action when you want to send data to your Report Addon.